content-creativity
Starter Pack: Making YouTube Videos (Without Expensive Gear)
December 25, 2025
You don't need a $3,000 camera or a lighting rig to start making YouTube videos. Here's everything you actually need—and it probably costs less than your phone.
I know the intimidation of starting a YouTube channel. You see creators with cinema cameras, ring lights, green screens, and professional microphones, and you think: “Yeah, I’m not doing that.”
But here’s the thing: the most important part of a YouTube video isn’t the gear. It’s the idea. The consistency. The willingness to hit publish before you feel ready. I’ve seen people with $500 production budgets outperform creators with $15,000 setups because they understood one simple truth: audiences care about content, not resolution.
The good news? You can make legitimate, watch-able YouTube videos with things you probably already own. No venture capital required.
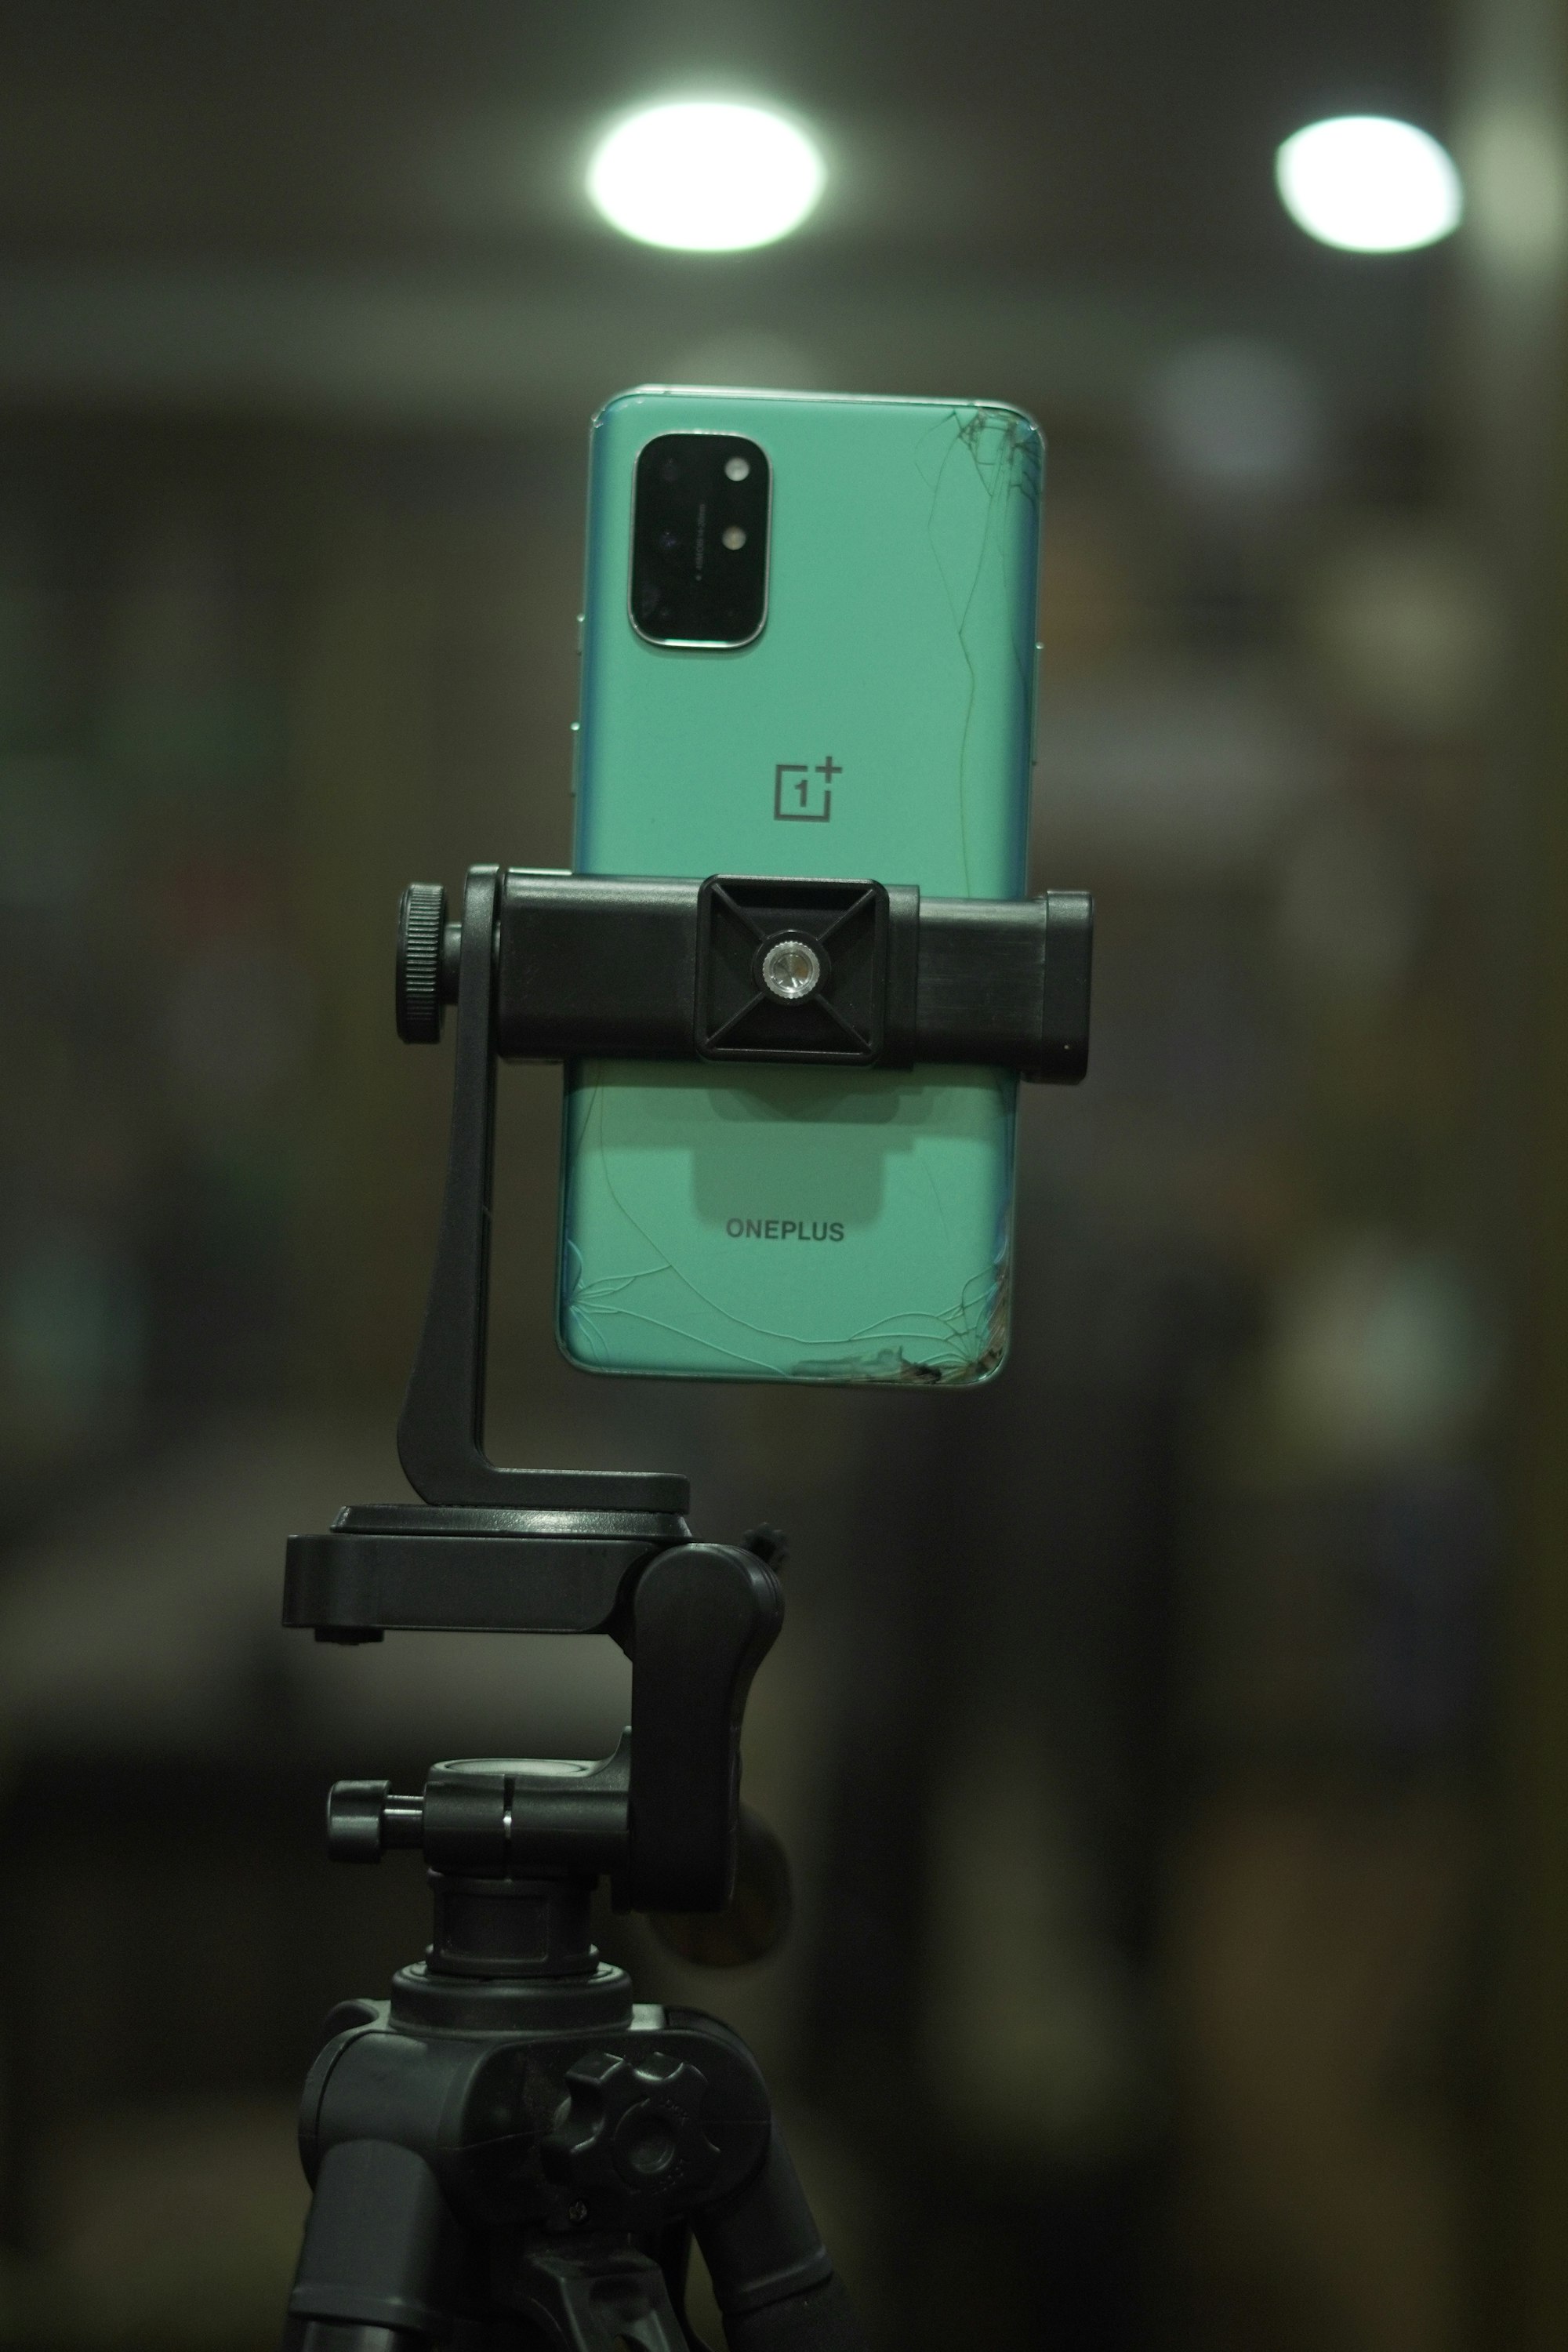
Start With Your Phone
Seriously. Your phone camera is better than $3,000 cameras from five years ago. The image sensor, the autofocus, the processing power—it’s already there.
What you need:
- Your phone (any smartphone made in the last 3-4 years)
- A way to stabilize it (tripod, selfie stick, or even a stack of books)
- Good lighting (more on this below)
Why this works: Phone footage is crisp enough for YouTube. The platform doesn’t care about 8K resolution—it cares about watch time. A video shot on your iPhone 12 that keeps people engaged beats a 4K camera recording boring content every single time.
The secret most people miss: framing and lighting matter infinitely more than sensor size. Learn to use your phone’s camera app well—exposure adjustment, focus lock, grid lines—and you’ll look more professional than half the creators out there.
Lighting: The Real Game-Changer
If you’re going to spend money on one thing, make it light. Not ring lights (though those work fine). I’m talking about creating an environment where you’re visible and look intentional.
Free/cheap options:
- Natural window light. Seriously. Sit near a window during the day and your video looks fantastic. It’s free and flattering.
- Clip lamps with white bulbs. Hardware stores sell these for $5-10. Point them at a white wall or ceiling to bounce soft light onto you. Costs less than lunch.
- Desk lamp from anywhere. Angle it right and it does the job.
The golden rule: light your face from the front and side, not from behind. That’s 90% of what separates “I shot this in my bedroom” from “this looks intentional.”
Skip the $100 ring light for now. Once you’ve shipped 20 videos, then you can upgrade.
Editing: Free Software That Doesn’t Suck
This is where people panic. They think they need Adobe Premiere Pro (which costs $55/month), and suddenly their budget goes from $0 to $660 a year.
You don’t.
CapCut is genuinely the move here. Free, powerful, not buried under bloat. It handles cuts, transitions, text, color correction, and effects. TikTok creators built entire empires on CapCut. You can too.
If CapCut isn’t your vibe, DaVinci Resolve is professional-grade and stays free forever (the paid version exists but you won’t need it for years). It’s what editors use on actual films. For YouTube videos? Overkill in the best way.
Both have learning curves, but so does Premiere Pro. Spend two hours with tutorials and you’ll know enough to make videos that don’t look amateurish.
Thumbnails: The Unfair Advantage
Thumbnails are disproportionately important. A bad thumbnail kills your click-through rate. A good one pulls people in.
Here’s what you need: Canva. Free tier. It has YouTube thumbnail templates built in. Download, edit, export. That’s it.
Bold text, high contrast, your face (if it’s that kind of video), one key visual element. Watch your top competitors’ thumbnails and steal their vibe—not the image, the approach. Then make your own version.
People will tell you to hire a thumbnail designer. Not yet. Make 50 videos first, learn what works for your content, then consider outsourcing.
Audio: Don’t Sleep on This
Mediocre audio kills videos faster than mediocre footage. People will forgive a blurry video. They won’t forgive one where they can’t hear you.
What you need:
- Your phone’s built-in mic (for now)
- Audacity (free audio editor) to clean up the audio in post
- A quiet room during recording
If you upgrade: A $20 USB lavalier mic or even a basic Bluetooth headset with a mic. This matters way more than a fancy camera.
Record in a small room with soft furnishings (carpet, curtains, blankets). Avoid kitchens and bathrooms—they echo like a cathedral and sound terrible. Your bedroom with the door closed? Perfect.
Uploading and Consistency
Here’s the unsexy truth: publishing consistently beats perfect one-time production. A video every week, even if it’s rough, outperforms quarterly uploads that are technically immaculate.
YouTube’s algorithm notices consistency. So does your audience.
Get a publishing schedule. Keep it. The gear becomes irrelevant if you ship nothing.
This starter pack isn’t “good enough if you’re broke.” It’s genuinely how successful creators start. If you’re watching YouTube videos of creators giving gear reviews on thousand-dollar setups, remember: they started with a phone and a dream too. They just didn’t wait for the perfect equipment first.
The people I know crushing it on YouTube didn’t have better cameras than you. They had better ideas, better discipline, and the guts to publish before everything was perfect. Start there, and upgrade the gear when you actually know what you’re doing.
If you want to dig deeper into creator tools, I wrote about beginner content creator tools that don’t destroy your budget. And if thumbnails and design feel like the weak link, free design tools like Figma and Canva are where the real power is.