Tools & Resources
Tools That Make Design Easy for Non-Designers
Non-designers do not need more creative freedom. They need tools with good defaults, strong templates, and fewer ways to ruin spacing.
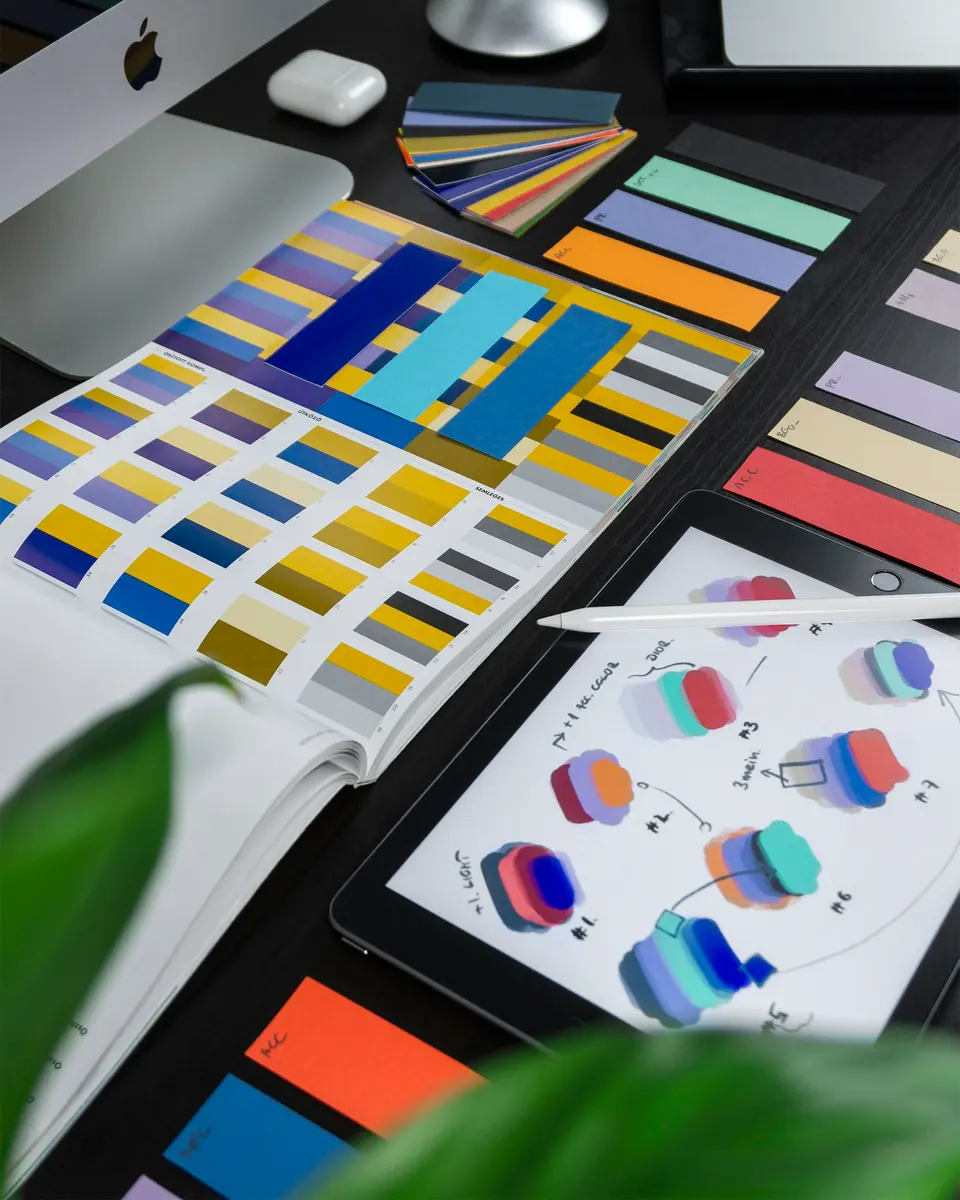
You do not need to become a designer.
Good. That is not the job.
The job is simpler:
Make the thing look clear, intentional, and not like it was assembled during a coffee spill.
That means you need design tools with strong defaults.
Not infinite freedom.
Freedom is how non-designers end up with seven fonts, three shadows, and a button that looks like it owes someone money.
Use tools that give you rails.
Then stay on the rails.
Start With Templates, Not Blank Canvases
Blank pages are traps.
They make you think you are designing from scratch. You are not. You are guessing in public.
The move: Start with a template that already has decent spacing, font sizes, and layout.
Then change the words.
Then change the image.
Then stop.
That last step is where people fail.
Do not keep poking the layout because your brain is bored. The template is doing its job. Let it.
If you want a wider list of places to start, I already went deeper in free design tools that do not look free. But the rule is the same: pick the thing with the best defaults, not the thing with the most buttons.
Use Brand Defaults Before You Get Creative
You do not need a full brand system.
You need a few decisions you stop re-deciding.
Do this once:
- Pick one main color.
- Pick one accent color.
- Pick one heading font.
- Pick one body font.
- Save your logo, if you have one.
- Save 3-5 images that feel like your world.
That is enough for most solo work.
The goal is not to become visually iconic by Thursday.
The goal is to stop rebuilding your entire taste from zero every time you make a thumbnail, slide, or lead magnet.
Pick Tools That Protect Spacing
Bad design is often bad spacing wearing a fake mustache.
Everything is too close.
Or too far.
Or centered when it should be left-aligned.
Or floating in the middle like it lost its address.
The move: Use tools that snap things into place.
You want guides, grids, alignment hints, reusable frames, and layout blocks.
If a tool lets you drag text anywhere with no resistance, be careful. That sounds creative. It is usually how chaos gets a login.
The spacing rule
Use fewer sizes.
For most simple designs, you can survive with:
- Small gap
- Medium gap
- Big gap
That is it.
Not 17 slightly different gaps because your mouse hand felt artistic.
Use Stock Images Like Adults
Stock images are not the problem.
Lazy stock image use is the problem.
Do not pick the first smiling laptop photo and call it done.
Look for images with:
- Clear empty space for text
- Natural light
- One strong subject
- No fake meeting energy
- Colors that do not fight your design
If your image is loud, your text needs to be quiet.
If your text is the star, your image needs to behave.
That one rule will save many designs from looking like a coupon flyer after too much coffee.
Keep One Font Pair
Fonts are where confident people quietly ruin everything.
You do not need seven.
You need two.
The move: Use one font for headings and one font for body text.
Then reuse them everywhere.
If you do not trust yourself, use the fonts already paired inside your design tool. The tool is probably better at this than your 11 p.m. taste.
The quick test
Zoom out.
If the design still has a clear headline, clear body text, and one obvious action, you are fine.
If everything is shouting, nothing is.
Make A Tiny Brand Kit
Do this before you make 12 random assets.
Open a folder.
Call it something boring.
Save:
- Logo
- Colors
- Fonts
- Favorite image style
- Three reusable layouts
- Export checklist
That is your tiny brand kit.
Not a brand manifesto.
Not a 60-page PDF about your values.
A folder that stops you from making the same decision again next Tuesday.
If you are building content across multiple channels, the beginner content creator tools guide helps you connect the rest of the stack without turning your desk into a software museum.
The Non-Designer Design Stack
Here is the stack I would build for a normal person with work to ship.
1. A template-based design tool
Use it for social posts, thumbnails, simple PDFs, slides, and quick graphics.
Your rule: start from layouts that already look solid.
2. A tiny brand kit
Colors, fonts, logo, image style, and repeatable layouts.
Your rule: reuse more than you invent.
3. A stock photo source
Use clean, simple images.
Your rule: one strong image beats six decorative bits.
4. An icon source
Use icons when they clarify. Not because the empty corner looked lonely.
Your rule: same icon style across the whole design.
5. An export checklist
Before you publish, check:
- Is the headline readable?
- Is the main action obvious?
- Is the text too close to the edge?
- Did you use only your saved colors?
- Does the mobile version still work?
Five checks. Done.
What Actually Matters
Design tools should make bad decisions harder.
That is the whole game for non-designers.
Use templates.
Use defaults.
Reuse your tiny brand kit.
Stop adding decorative stuff because the page feels “empty.”
Empty is often clean.
Messy is not personality.
If you want to do client-facing visual work without pretending you have a design degree, read the freelance design starter pack. But start here first.
Make one clean thing.
Then make the next one look related.
That is already more design discipline than most people bring to the internet.
Advertisement